
Written by: Matthew Timmins, Founder and Managing Director, Leva Sleep | Last updated: July 26, 2026
Key Takeaways for a Smooth Split King Setup
- A split king adjustable bed uses two Twin XL bases joined inside one king frame, and most couples finish setup in a few hours.
- Core steps include matching leg heights, clamping the bases together, and choosing between independent or synced remote control.
- Simple hardware such as brackets, grip pads, retainer bars, and foam gap fillers solves drifting bases, mattress sliding, and centre gaps.
- Post-assembly checks confirm each remote controls only its own side and that the centre gap stays consistent after elevation cycles.
- Leva Sleep offers white-glove delivery and assembly in Ontario and Alberta, so you can add professional setup when you configure your adjustable bed package.
Why Split-King Assembly Often Feels Overwhelming
Two large boxes arrive at the door. Inside each is a Twin XL adjustable base, a bag of legs, a remote, and a power cable. The instructions reference parts from both boxes simultaneously, and the bedroom floor disappears under cardboard. One partner snores and the other needs a firmer surface, which is the reason you ordered a split king in the first place.
The anxiety makes sense. Gaps between the two mattresses, bases that drift apart overnight, and remotes that stop responding are the three complaints that dominate online forums. Each problem has a straightforward fix, and this guide walks through every phase in order.
If a same-night DIY setup feels like too much, Leva Sleep’s in-house white-glove delivery team can handle everything in Ontario and Alberta. The team manages unboxing, assembly, height adjustment, a product tutorial, and old-bed removal in one visit, which you can add when you build your adjustable bed package.
Phase 1: Prepare Your Room and Tools Before Assembly
Clear the bedroom before the bases arrive. Each Twin XL base measures roughly 38 × 80 inches, and together they occupy a full king footprint of 76 × 80 inches plus manoeuvring room on all sides.
Plan for two people to handle the bases. A single Twin XL adjustable base weighs between 100 and 150 lbs depending on the model, and lifting it upside-down onto a flat surface without a second person risks injury and frame damage.
Gather these tools before opening the boxes:
- Adjustable wrench or the included leg wrench
- Tape measure
- Blanket or moving pad to protect the fabric deck
- Smartphone to photograph wiring before connecting cables
- Surge-protected power bar with at least two outlets
Once your space is clear and your tools are ready, you are prepared to begin the physical assembly.
Phase 2: Unbox Both Bases in the Upside-Down Position
Slide each base out of its box and flip it upside-down onto the moving pad. This position gives clear access to the threaded leg holes and control box without straining over the frame edge.
Before discarding packaging, inventory every accessory bag. A typical split king shipment includes:
- Four to six legs per base (quantity depends on model)
- One power cable per base
- One wireless remote per base
- One sync cable (stored for optional use)
- Retainer bar hardware (if included)
Safety note: Do not plug either base in until all legs are installed and both bases are in their final position. Powering on a base while it is upside-down or unsupported can trigger motor movement and cause injury.
Phase 3: Install Legs and Set a Comfortable Height
Thread each leg clockwise into its hole by hand until snug, then tighten a quarter-turn with the wrench. Over-tightening strips the threads, so finger-tight plus a quarter-turn is sufficient.
Most bases offer multiple height settings depending on the model. Your choice should prioritise ease of entry and exit, which usually means matching your existing bed frame height or selecting a level that makes it comfortable to sit on the edge and stand up. If you or your partner have hip or knee pain, a taller setting reduces the effort required to stand and often feels better for mobility.
Common mistake: Installing legs at different heights on the two bases. Measure each leg with a tape measure before threading it in. A half-inch difference between sides creates a visible tilt and can cause the bases to drift apart over time.
Phase 4: Connect the Two Bases So They Stay Together
Once both bases are right-side-up and positioned inside the king frame, join them physically so they do not separate during use.
Three methods are standard:
- C-clamps or frame brackets: Most split king frames include metal brackets that bolt the two inner rails together. Tighten all bolts before placing mattresses.
- Connector straps: Mattress connector strap kits include two or three adjustable straps positioned along the length of the bed and can be installed without removing bedding.
- Shared king frame with side rails: Many split king adjustable bases include a shared king frame with side rails that hold both bases in alignment, minimising lateral shifting and keeping the gap consistent.
Expert tip: After connecting the bases, push them firmly together and check the inner rail gap. A gap wider than half an inch at any point indicates the brackets are not fully tightened or the frame corners are not forming true right angles. Either issue lets the bases drift apart under use, so correct it now before adding mattresses and making the frame harder to reach.
Phase 5: Choose Independent or Synced Operation and Pair Remotes
Every split king ships with a sync cable, and your choice of setup depends on how you want the bed to move.
Independent operation (most common for couples): Each partner controls their own side, and the sync cable stays stored. Sleep Number’s official assembly instructions state: “If the base is a Split King, DO NOT connect the sync cable. Place the sync cable in the circular opening on the base for future use.” This configuration suits couples with different elevation preferences.
Synced operation: Both bases move together as a single king. Plug the sync cable into the “Sync” or “Bridge” port on both control boxes. The sync cable must be securely plugged into the Sync or Bridge port on both control boxes to allow the bases to communicate with each other.
Use these remote pairing steps for independent operation:
- Plug each base into a grounded wall outlet, not a shared extension cord without surge protection.
- Wait 15 seconds for the control box to initialise.
- Locate the “Learn” or pairing button on each control box.
- Press and hold the Learn button, then press and hold the Head Up and Foot Up buttons simultaneously on the remote for 3–5 seconds until the base confirms pairing.
- Test each remote independently before placing mattresses.
2026 troubleshooting note: In split king setups, each remote must be paired to its respective base to prevent one partner from accidentally adjusting the other side. Some brands use colour-coded remotes, while others require manual pairing that can be disrupted by power loss.
Phase 6: Fix the Centre Gap Between Split-King Mattresses
The most common complaint about split king setups is the gap down the middle, which occurs because two separate mattresses sit on two separate bases and will naturally have a seam between them. The gap matters most for partners who sleep near the centre of the bed.
Three solutions address the gap directly:
- Bed bridge or gap filler: Bed bridges are T-shaped foam inserts that fit into the space between split king mattresses, tuck under both sides, and create a smooth transition. Foam wedges or gap fillers for split-king setups cost $20–$40 CAD on Amazon.ca.
- King-sized mattress topper: A single king-sized mattress topper spanning both split king mattresses creates a unified sleep surface. Memory foam or latex toppers at least 2 inches thick add weight and stability that reduces separation. A topper will limit the range of independent articulation.
- Leva Sleep-designed bedding: Leva’s fitted sheets use deep pockets and extra elastic designed for adjustable bases, which helps keep both mattresses aligned without restricting movement.
These solutions focus on the space between the mattresses. They do not stop the mattresses from sliding on the base surface, which is a separate issue.
Phase 7: Stop Split-King Mattresses from Sliding on the Base
A rubber grip pad placed on the base deck adds friction that resists sliding during elevation. For stubborn cases where the grip pad alone is not enough, a mattress retainer bar at the foot end creates a physical barrier that blocks downward movement and stabilises most setups.
The four most effective solutions, in order of application, are:
- Non-slip rubber grip pad: A non-slip rubber grip pad costs $15–$30 CAD and is available at Amazon.ca, Canadian Tire, Walmart, or Home Depot. Cut it to fit the adjustable base surface and place it directly on the deck before the mattress.
- Mattress retainer bar: Retainer bars bolt to the foot of the adjustable base and physically block downward sliding when the head or foot is raised. For a split king, two retainer bars are required.
- Hook-and-loop (Velcro) strips: Self-adhesive hook-and-loop tape applied along the top of the frame and the underside of the mattress at the head and foot, with extra strips at corners, keeps the mattress in place while still allowing easy removal for bed changes.
- Deep-pocket fitted sheets: Split king fitted sheets with centre straps or strong elastic, along with a single king flat sheet tucked tightly, help keep the two mattresses aligned and prevent sheets from pulling off when gaps form.
Post-Assembly Checks Before First Night Use
Before sleeping on the bed, run through this verification sequence:
- Power cycle both bases by unplugging each from the wall, waiting 60 seconds, then plugging them back in.
- Test each remote independently using head up, head down, foot up, foot down, and flat.
- Confirm each remote controls only its own side.
- Raise both bases to maximum head elevation and check that the mattresses do not slide toward the foot.
- Return both bases to flat and verify the inner gap has not widened.
- Check all leg connections by pressing down firmly on each corner.
Safety note: Do not crawl under a raised adjustable base unless it is safely supported and cannot move. Individuals with spinal fusion, osteoporosis, or heart and respiratory conditions should consult a doctor before using an adjustable bed, as certain angles may impact breathing or circulation.
If any of the checks reveal problems, or if issues appear during the first week of use, use the troubleshooting table as a quick reference.
Split King Troubleshooting Reference
| Problem | Likely Cause | Fix |
|---|---|---|
| Bases drift apart overnight | Frame brackets loose or absent | Tighten all inner-rail bolts and add connector straps |
| One remote controls both sides | Cross-pairing after power outage | Unplug both bases and re-pair each remote individually to its respective base |
| Remote buttons light up but base does not move | Lost wireless pairing or tripped motor safety limit | Unplug the base for 60 seconds to reset the motor controller, then re-pair the remote |
| Base moves up but not down | Motor safety limit reached | Follow the same reset procedure described for a non-moving base, then test again |
| Mattress slides toward foot | Smooth base deck, no grip pad | Add a rubber grip pad and install a retainer bar at the foot end |
| Fitted sheet pops off | Standard sheet depth insufficient | Replace with deep-pocket sheets designed for adjustable bases and add sheet suspenders |
| Gap widens during the night | Bases not clamped and no gap filler | Tighten frame brackets and add a foam gap filler between mattresses |
| Sync cable confusion (bases move together unintentionally) | Sync cable plugged in for couple use | Unplug the sync cable from both control boxes and store it in the circular opening on the base |
What a Successful Split King Setup Looks Like
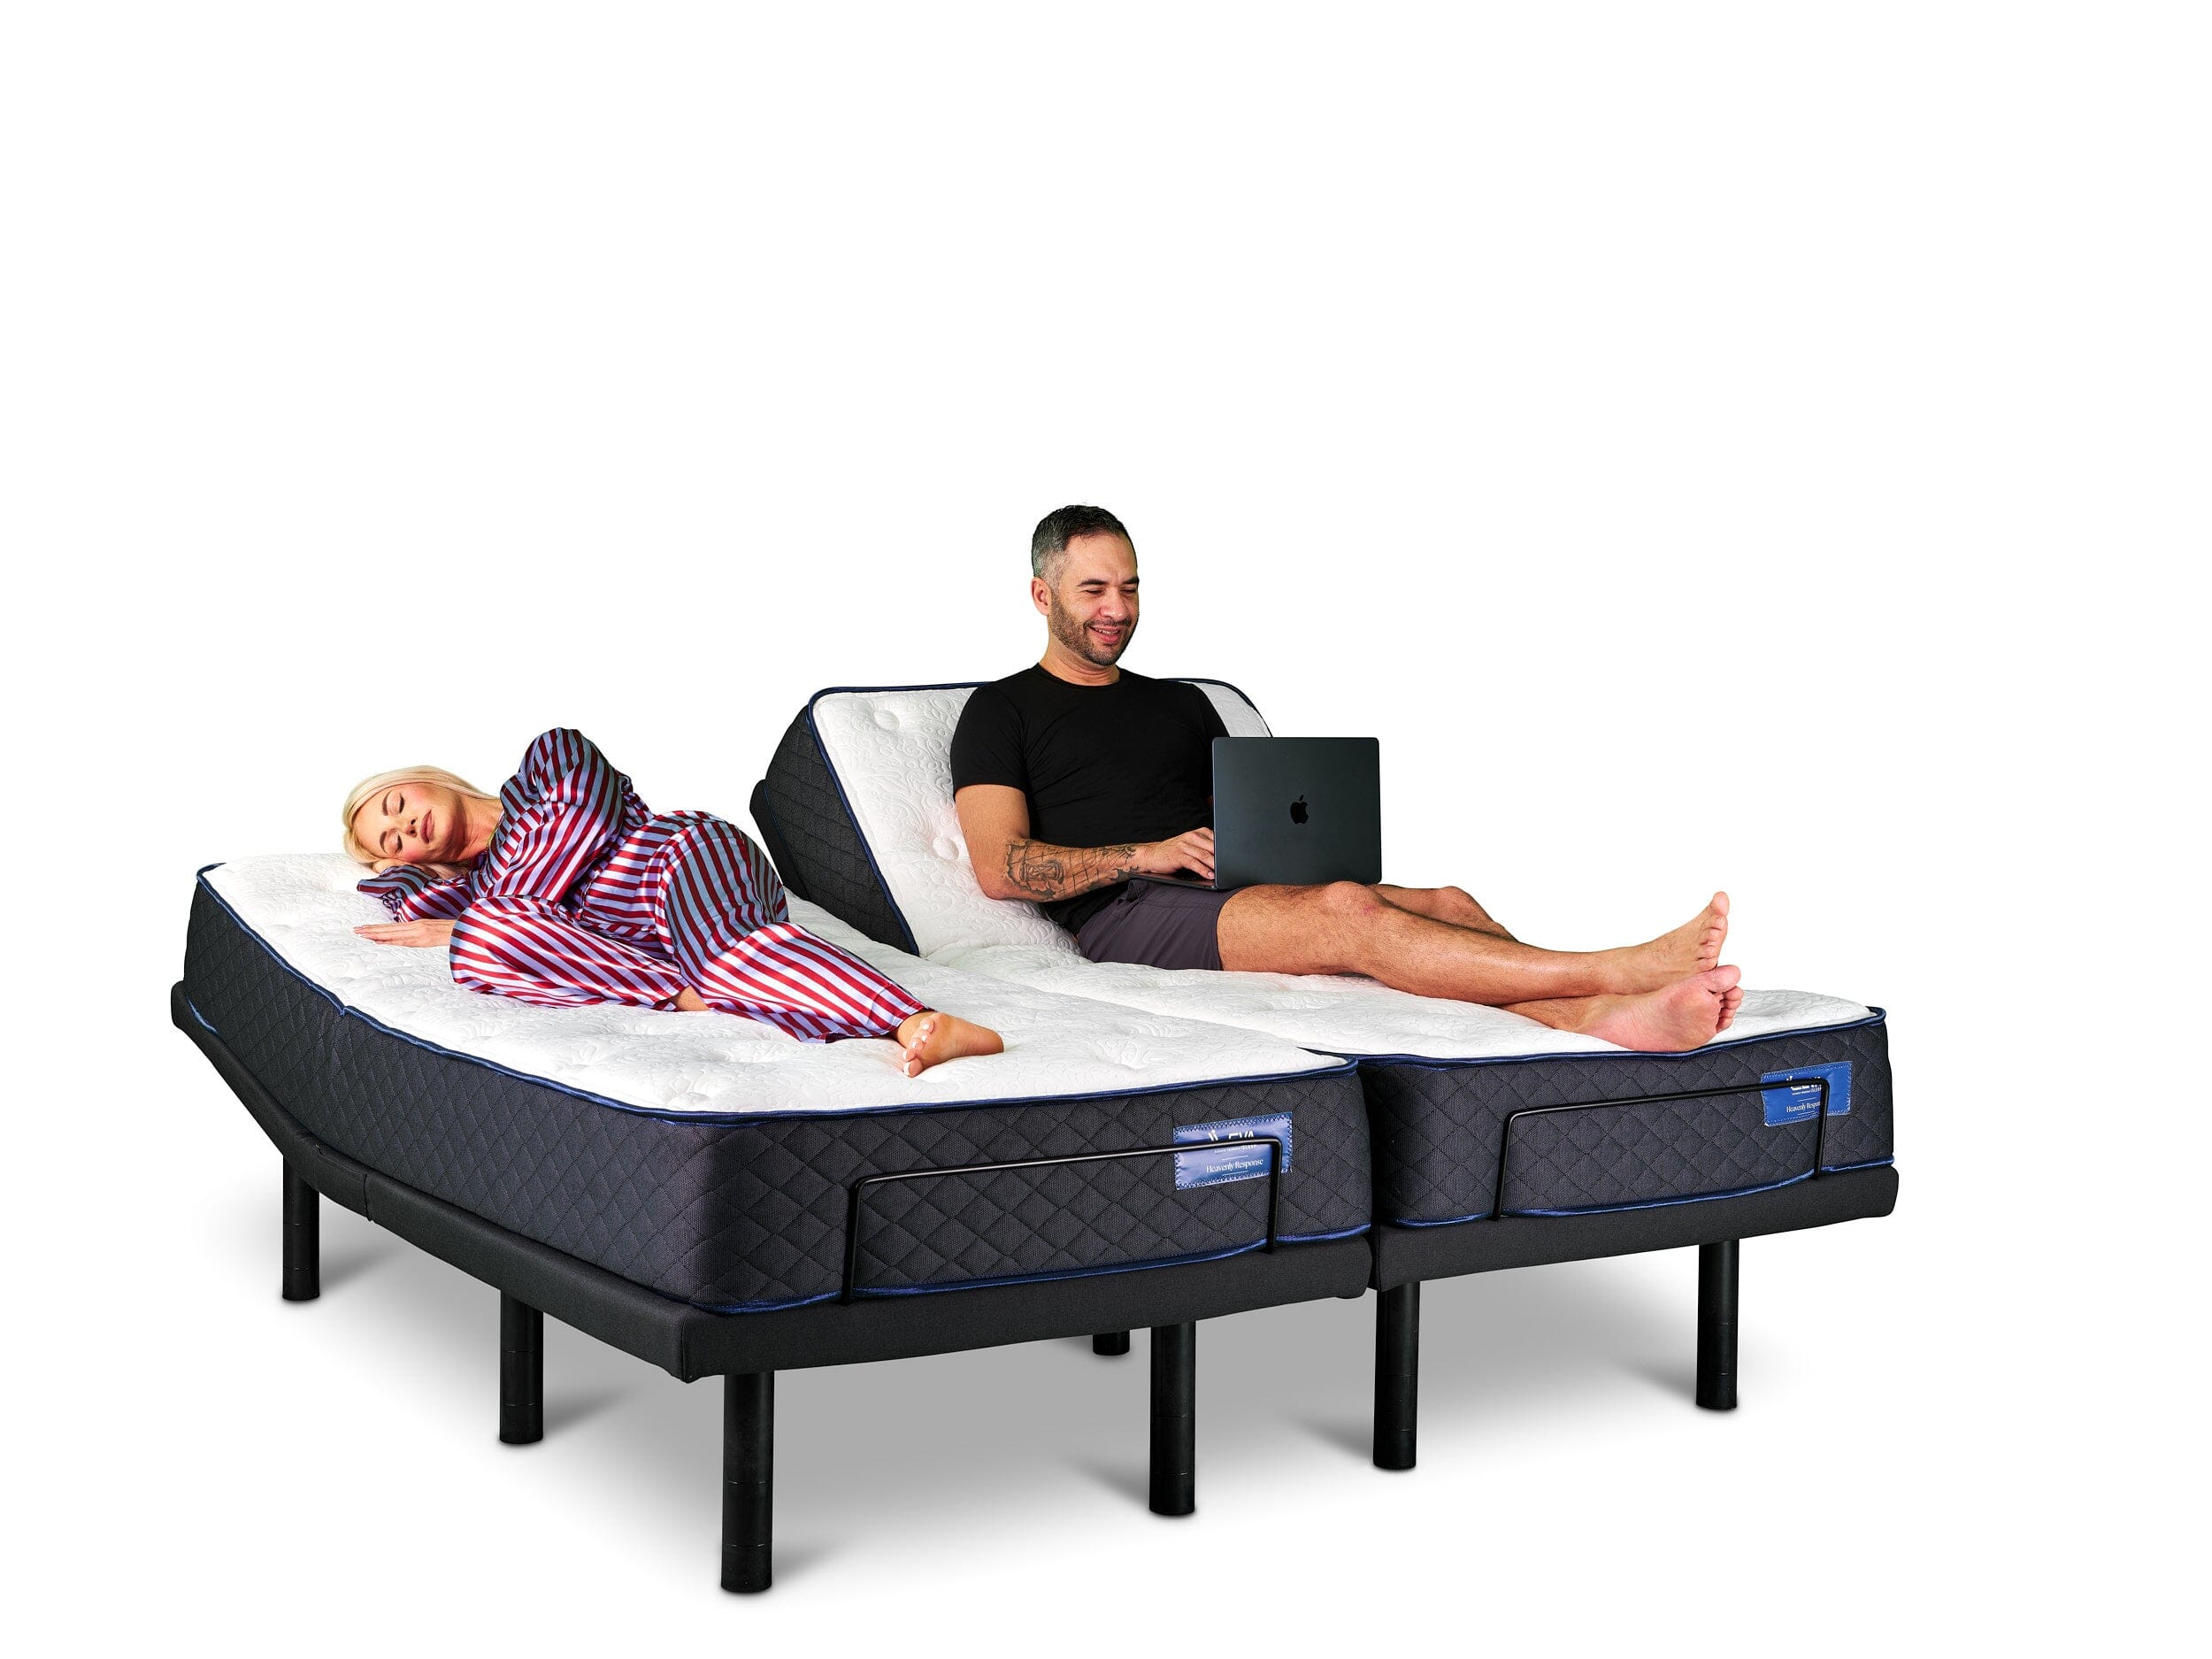
A correctly assembled split king adjustable bed shows flush bases with no visible height difference between sides. The centre gap stays around one inch or less and is bridged by a gap filler or topper, the mattresses remain stationary through a full elevation cycle, and each remote controls only its own side.
Both partners can raise or lower their side independently without disturbing the other. That independence supports snoring relief, different firmness choices, and fewer “sleep divorce” conversations about separate rooms.
If any step in this guide feels uncertain, Leva Sleep’s white-glove delivery team serves Ontario and Alberta customers (July 2026) and can handle every phase described above. You can let the team manage setup, then focus on testing positions and finding your ideal sleep settings.
Frequently Asked Questions
Is a split king adjustable bed suitable for all couples?
A split king suits most couples who have different firmness preferences, elevation needs, or sleep schedules. Each partner controls their own Twin XL side independently, so one person can elevate their head for snoring or acid reflux while the other sleeps flat. The configuration does not suit individuals with spinal fusion, osteoporosis, or certain heart and respiratory conditions without prior medical consultation. Couples who share a mattress topper across both sides will have reduced independent articulation range, so anyone who needs full elevation on both sides should skip the topper.
How long does split king assembly take for two people with no prior experience?
Most couples can complete the full process, including unboxing, leg installation, frame connection, remote pairing, gap filler placement, and post-assembly testing, in a few hours. The most time-consuming steps are leg installation, where you confirm equal heights on both bases, and remote pairing, especially if a power interruption requires re-pairing. Having all tools ready before opening the boxes and following the phases in order reduces total time. Leva Sleep’s white-glove delivery service completes the same process in a single scheduled appointment, including old-bed removal.
Are Leva Sleep adjustable bases compatible with mattresses from other brands?
Leva Sleep adjustable bases are compatible with many memory foam, latex, and hybrid mattresses. Traditional innerspring mattresses resist bending and can crack or deform on an adjustable base, which makes them a poor match regardless of brand. Leva Sleep also carries mattresses from Tempur-Pedic, Simmons, Beautyrest, Serta, and Kingsdown, all paired and tested with Leva’s own adjustable bases. If you are bringing an existing mattress, confirm with Leva’s team that it is flex-compatible before assembly.
What maintenance does a split king adjustable base require after assembly?
Routine maintenance stays simple. Check that all leg connections remain tight every three to six months, since vibration from the massage function can gradually loosen threaded legs. Inspect the rubber grip pad annually and replace it if it has flattened or accumulated dust, because body oil and dust under the mattress form a low-friction film that worsens sliding over time. Re-pair remotes after any extended power outage. Clean the base deck with a dry cloth and avoid liquid cleaners near the control box and motor cables. Leva Sleep’s in-house support team is available for warranty service and post-purchase questions across Ontario and Alberta.
Conclusion: Confident DIY or Hands-Off White-Glove Setup
A split king adjustable bed supports couples with different sleep needs once it is assembled correctly. The seven phases above cover every step from pre-assembly clearance through post-assembly testing, and the troubleshooting table addresses the problems most likely to appear in the first week of use.
Your decision stays simple. You can follow this guide for a confident DIY setup, or you can let Leva Sleep’s white-glove team handle the work for a same-night, low-effort result. Either path leads to both partners sleeping on their own terms in the same bed, with fewer compromises and less drama.