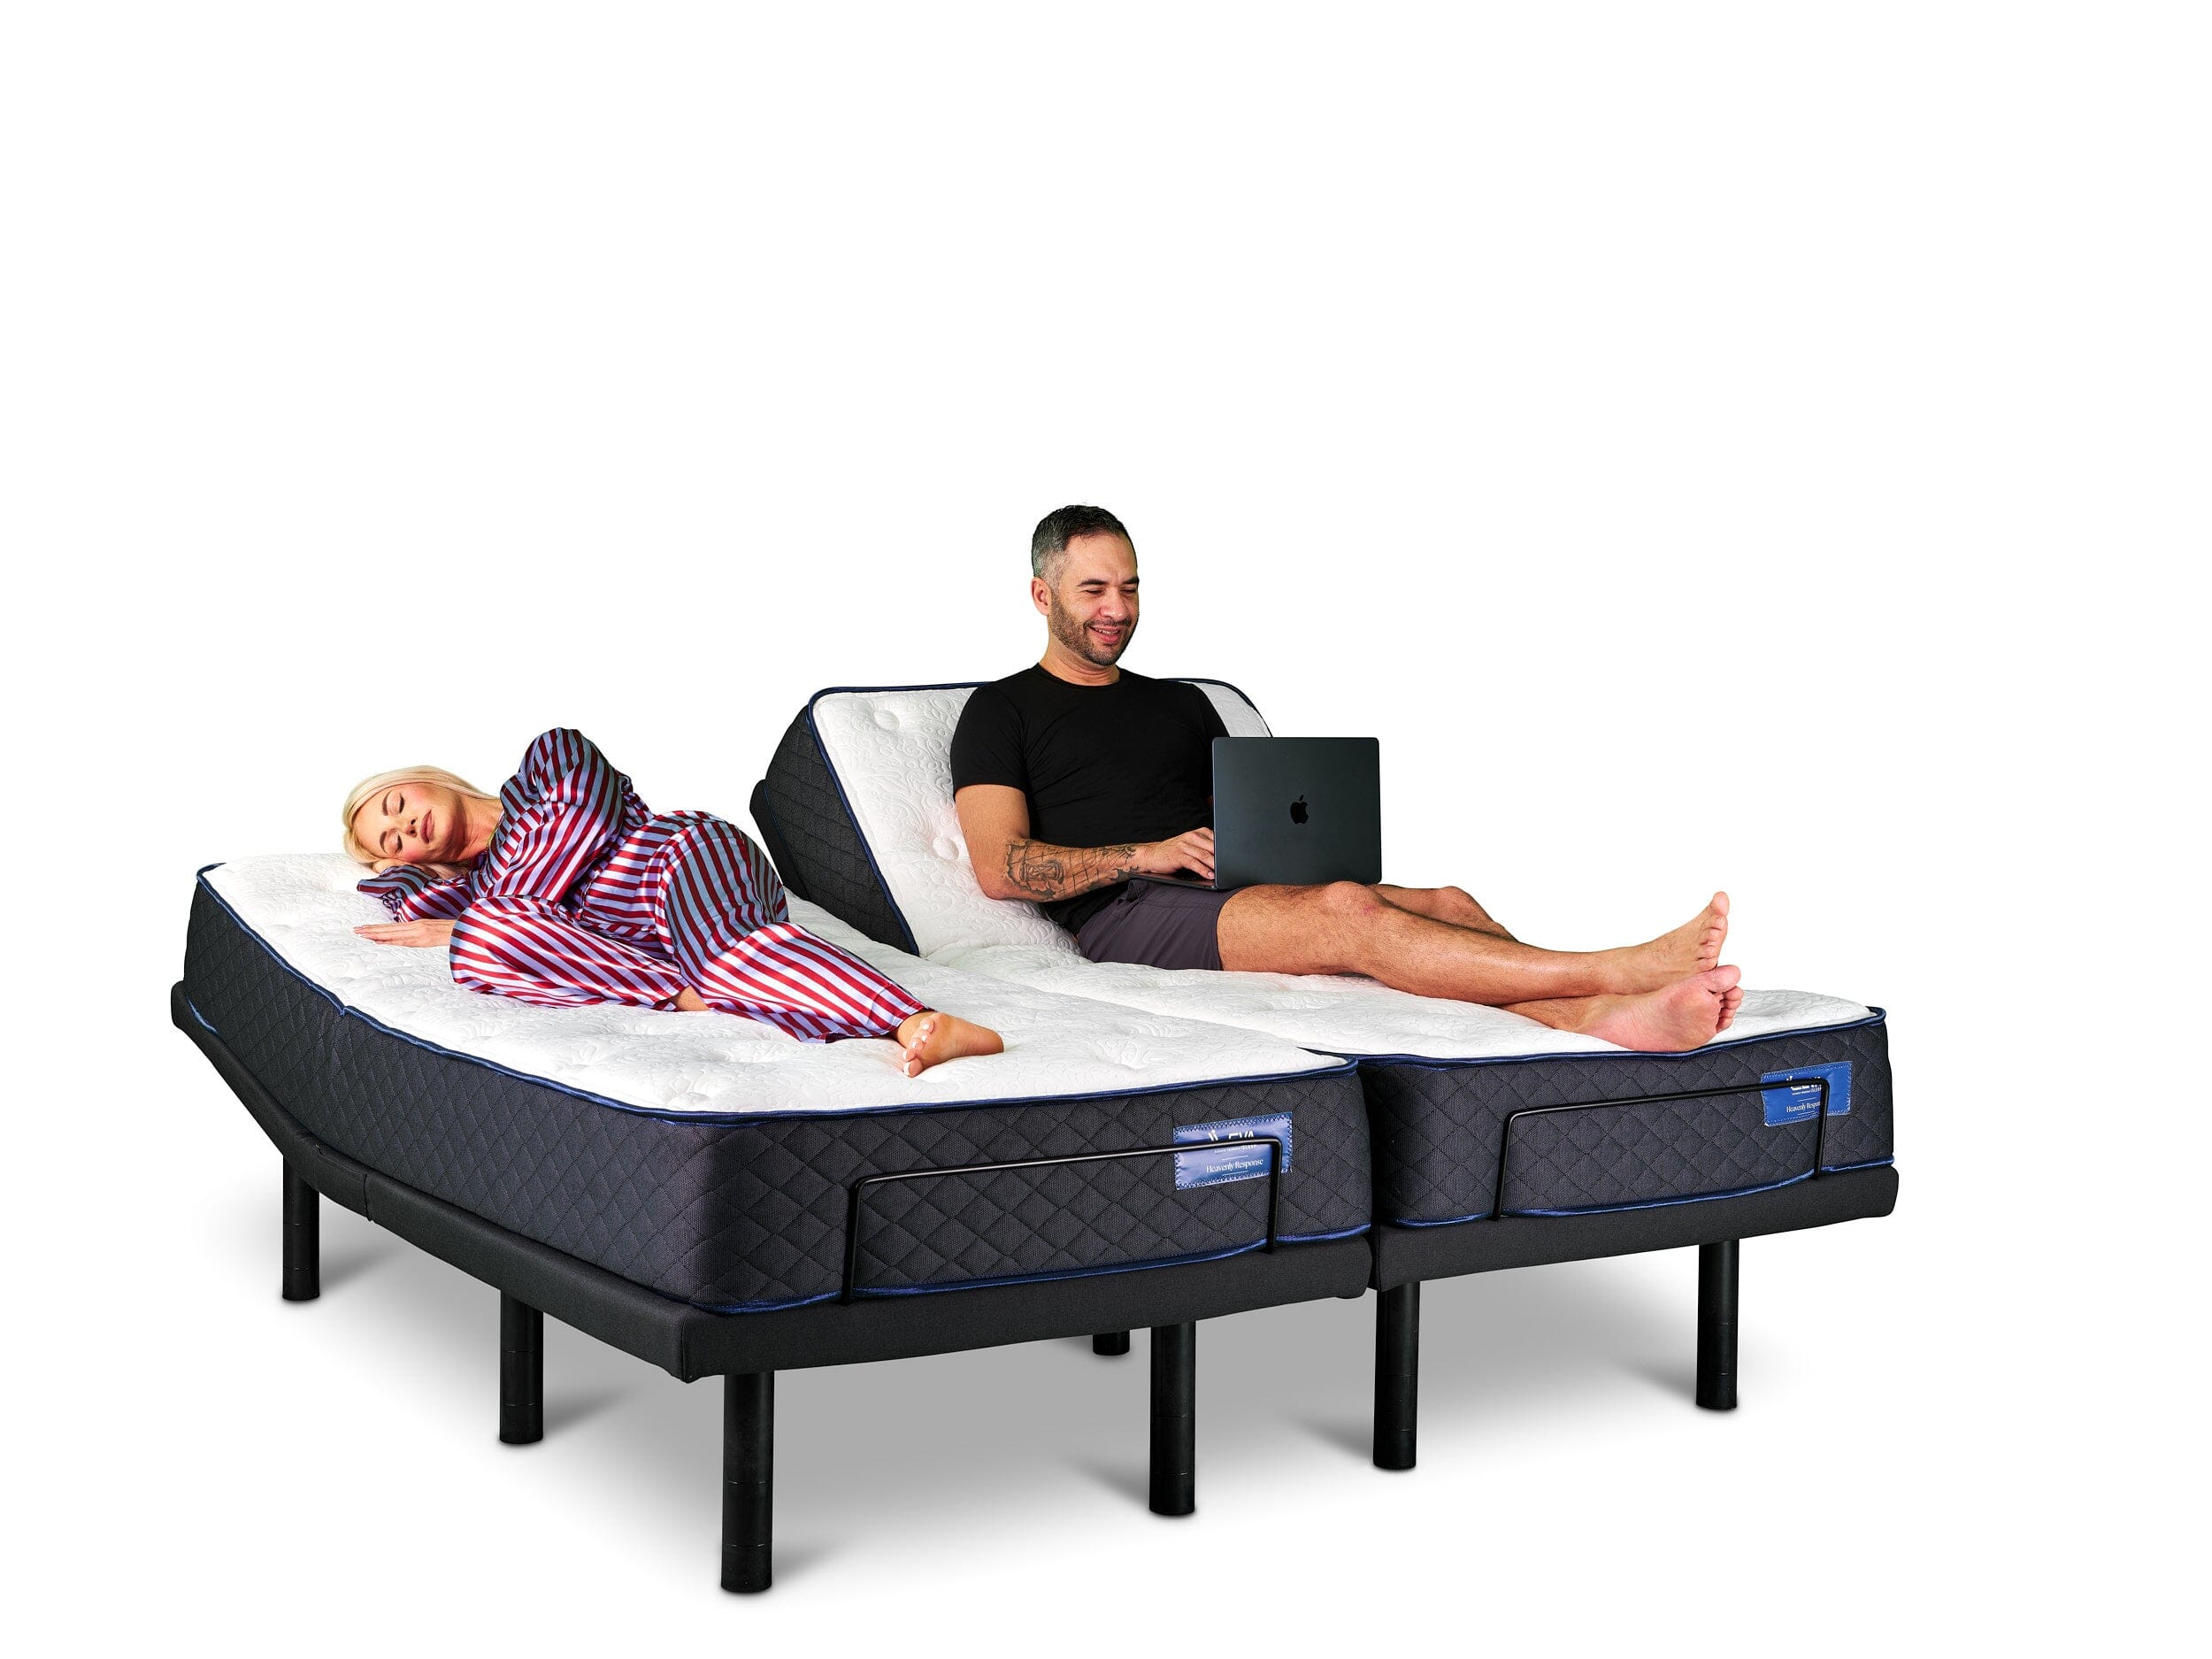

Written by: Matthew Timmins, Founder and Managing Director, Leva Sleep | Last updated: August 7, 2026
Key Takeaways for Split King Independence
- Independent remote pairing and turning tandem mode off let each partner control their own side without affecting the other.
- Memory presets store anti-snore and Zero-G positions so each side can return to favourite angles with a single button press.
- App control and Bluetooth pairing add convenience for saving positions and tracking sleep, but each partner needs a separate profile.
- Linking brackets, retainer bars, and deep-pocket sheets keep a split king stable, comfortable, and gap free at any angle.
- Leva Sleep offers competitively priced adjustable bed packages with white-glove delivery across Ontario and Alberta. Explore split king packages designed for independent sleep.
Phase 1: Pairing Each Remote to Its Own Base
Independent control starts with pairing. Each remote must connect only to its own base so later presets stay separate for each partner. The general sequence across most Tempur-Pedic-compatible bases stays consistent. Locate the control box under the frame, put it into pairing mode, then confirm from the remote.
- Install fresh batteries in both remotes.
- Reach under the frame and press and hold the pairing button on the control box until the indicator light flashes.
- While the light is flashing, press and hold the Flat button on the remote until the light stops flashing or the base moves.
- Repeat the sequence for the second base and its remote independently.
- Test each remote by pressing Head Up. Only its own side should move.
The pairing window stays open for a short time. Keep the remote within 10 metres of the control box and away from metal objects or strong electronic devices. These can interrupt the signal before pairing completes.
Common pairing mistakes to avoid:
- Pressing the pairing button on both control boxes at the same time. Pair one side at a time.
- Using alkaline batteries in remotes that specify lithium. Lithium batteries are specified for reliable signal strength.
- Starting the remote sequence before the control-box light is actively flashing.
Phase 2: Saving and Using Custom Presets
Memory presets let each partner return to a preferred angle with one button press instead of adjusting manually every night. Two positions deserve saving right away because they solve common sleep issues.
Anti-snore position (15–30°): Elevating the head 15 to 30 degrees reduces the effect of gravity on the soft palate and tongue, which are primary causes of positional snoring. Start at 15 degrees and increase toward 30 if snoring continues. Save the angle that keeps breathing quiet and comfortable.
Zero-G position (head and knees each 15–25°): This posture distributes body weight more evenly and reduces lumbar disc pressure compared to lying flat. Like the anti-snore position, Zero-G deserves a preset so you can reach it instantly without manual fine-tuning.
To save either position on most Tempur-Pedic-compatible remotes, follow this sequence:
- Adjust the base to the desired position using the Head and Foot buttons.
- Press and hold the Memory or Preset button until the remote confirms with a beep or light flash.
- Assign the position to a numbered slot, usually M1 or M2.
- Press the slot button briefly to confirm recall works before relying on it nightly.
Expert tip: In a split king setup, each partner can program memory presets independently. One side can store a 30-degree anti-snore position while the other remains completely flat, with no effect on the opposite side.
Phase 3: Turning Tandem Mode Off for True Independence
Even with remotes paired and presets saved, the setup stays linked until you disable tandem mode. Tandem mode connects both bases so one remote controls both sides at once, which usually conflicts with independent sleep.
- Press and hold the Head Up and Foot Up buttons together for five seconds until the base beeps twice. This sound confirms tandem mode is off.
- If the remote has a dedicated Sync or Link button, press and hold it for three seconds until the indicator light changes from solid to blinking.
- Test right away. Pressing Head Up on one remote should move only that side.
| Issue | Likely Cause | Fix |
|---|---|---|
| Both sides still move together | Tandem mode still active | Repeat the Head Up and Foot Up hold sequence and confirm with two beeps. |
| Remote does not respond at all | Pairing lost after battery change | Return to Phase 1 and repeat the pairing sequence. |
| Wrong side responds | Remotes swapped during setup | Unpair both, then re-pair each remote to its own control box individually. |
| Pairing light does not flash | Control box not receiving power | Check the power cable and surge protector, then unplug and replug. |
Phase 4: Using App Control on Ergo Smart and Similar Models
Smart bases add app control for position saving, sleep timers, and on some models, sleep tracking. The Bluetooth pairing process stays similar across most Tempur-Pedic-compatible smart bases.
- Download the manufacturer's app from the App Store or Google Play.
- Unplug the bed's power cable and wait about one minute before plugging it back in so the motor light begins blinking to show pairing readiness.
- Open the app and follow the on-screen Bluetooth pairing steps while standing within two metres of the base.
- Assign each base to the correct partner profile in the app so position saves and sleep data stay separate.
- Enable location permissions if the app requests them. Many Bluetooth sleep apps on Canadian iOS and Android builds need this to detect nearby devices.
Common Bluetooth issues:
- If the app cannot find the base, confirm Bluetooth is on and the base motor light is blinking, not solid.
- If the connection drops overnight, move the phone closer to the base or remove other Bluetooth devices from the room during initial setup.
- If the base becomes unresponsive after a firmware update, unplug it for 30 seconds, then re-pair through the app.
Canadian electrical note: Tempur-Pedic-compatible bases sold in Canada plug into standard household outlets. No adapter is needed. Plug the base directly into a grounded wall outlet instead of an extension cord to keep motor performance stable.
Phase 5: Linking Bases and Fixing Gaps
Two independent bases can drift apart overnight and create a gap between the mattresses. Physical connectors close that gap while still allowing each side to move on its own.
- Slide a manufacturer-supplied linking bracket or third-party strap under both frames at the head and foot.
- Tighten the strap or bolt the bracket until the frames sit flush. Keep the connection snug but not rigid so each base can still articulate independently.
- Place a mattress retainer bar across the foot of both mattresses to stop them from sliding toward the foot of the base when the head rises.
- Add a non-slip pad between each mattress and its base surface for extra grip.
These physical adjustments require careful alignment. Misplaced brackets or loose retainer bars can undo the remote pairing work from earlier phases by causing drift or uneven motion. If you prefer to avoid trial and error, Leva Sleep's white-glove delivery team handles bracket installation, leg-height adjustment, and a full product tutorial as part of the in-home setup service.
Learn more about white-glove delivery options.
Phase 6: Styling Your Split King for Headboards and Bedding
With the mechanical setup complete, the final phase focuses on how your split king looks and feels. A split king introduces two styling challenges. You need a secure headboard attachment and bedding that stays put when one side moves.
Headboards: Most Tempur-Pedic bases include a headboard bracket rail. Freestanding headboards that attach to the wall instead of the frame work at any elevation angle. This approach prevents the headboard from pulling away when the head section rises.
Bedding: Standard fitted sheets often pop off elevated corners. Several simple upgrades keep everything in place.
- Choose fitted sheets with deep pockets of at least 18 inches and elastic around the full perimeter. Leva Sleep designs its sheets for adjustable bases with this specification.
- Use duvet clips so each partner's duvet stays on their own side when positions differ.
- Add a split king bed bridge or mattress gap filler between the two mattresses during flat sleeping to create a unified surface.
What a Successful Split King Setup Delivers
When all six phases are complete, each partner's side holds its programmed angle through the night without drifting. Sheets stay anchored at full elevation, and neither partner's adjustment wakes the other. The snoring partner activates an anti-snore preset in seconds while the other side stays flat or in Zero-G. Both partners enjoy independent comfort without nightly negotiation.
Advanced Options and Model Selection
Couples who complete the six phases and still want more control can add lumbar support motors or pillow-tilt motors to compatible bases. These upgrades let each partner fine-tune lower-back support and pillow angle separately from head and foot elevation. App firmware updates on smart bases sometimes add new preset slots and sleep-tracking metrics, so check the app's update log every few months.
For couples who find Tempur-Pedic pricing high for a second base or an upgrade, Leva Sleep's adjustable bed packages often cost 30 to 50 percent less than comparable luxury competitors. Leva carries 15 to 20 adjustable models, compared to the 3 to 5 typically found at general mattress retailers, and delivers with the same in-house service mentioned earlier.
Compare Leva's full range of adjustable bed packages.
Frequently Asked Questions
Will changing remote pairing or turning tandem mode off affect my Tempur-Pedic warranty?
Adjusting remote pairing settings and turning tandem mode off are standard user functions described in Tempur-Pedic documentation. These steps do not modify the hardware or motor system and do not void the warranty. Physical alterations, such as cutting cables or replacing motors with third-party parts, are different and should be avoided. If you feel unsure about a specific action, contact Tempur-Pedic's Canadian customer support line before you proceed.
Can I use a Leva Sleep adjustable base with my existing Tempur-Pedic mattress?
Tempur-Pedic mattresses are built to flex with adjustable bases. The key requirement for a split king is a twin XL mattress on each side. Leva Sleep's team can confirm compatibility during the pre-purchase consultation and will check the mattress during white-glove delivery. They confirm that it seats correctly on the base and that the retainer bar sits in the right position.
What are the delivery timelines for Ontario and Alberta customers?
Leva Sleep delivers across Ontario and Alberta with in-house white-glove service. Delivery timelines vary by region and current order volume. Leva's direct-to-consumer model, with local assembly instead of international drop-shipping, usually allows faster and more predictable scheduling than large-format retailers. Contact Leva Sleep at the time of purchase for a confirmed delivery window for your postal code.
Is professional setup worth the fee for a split king adjustable base?
For a split king configuration, professional setup deserves serious consideration. Installation involves two separate bases that must be levelled, linked, and tested independently. It also includes remote pairing for each side, app syncing when available, and mattress retainer placement. Errors at any step can cause the tandem behaviour or gap problems covered in this guide. Leva Sleep's white-glove team handles all of this, adjusts leg height to your preference, removes the old bed, and walks both partners through the remote and app controls before leaving.
What if one partner's remote still controls both sides after the tandem-mode steps?
If both sides keep moving together after you disable tandem mode, the most common cause is incomplete pairing. The remotes likely were not individually paired to their own control boxes before tandem mode changed. Unpair both remotes by removing their batteries and power-cycling both bases. Then pair each remote to its own control box one at a time, confirming single-side response before you move to the second remote. If the problem continues, the control box firmware may need a reset. Unplug the base for 60 seconds, plug it back in, and repeat the pairing sequence from Phase 1.